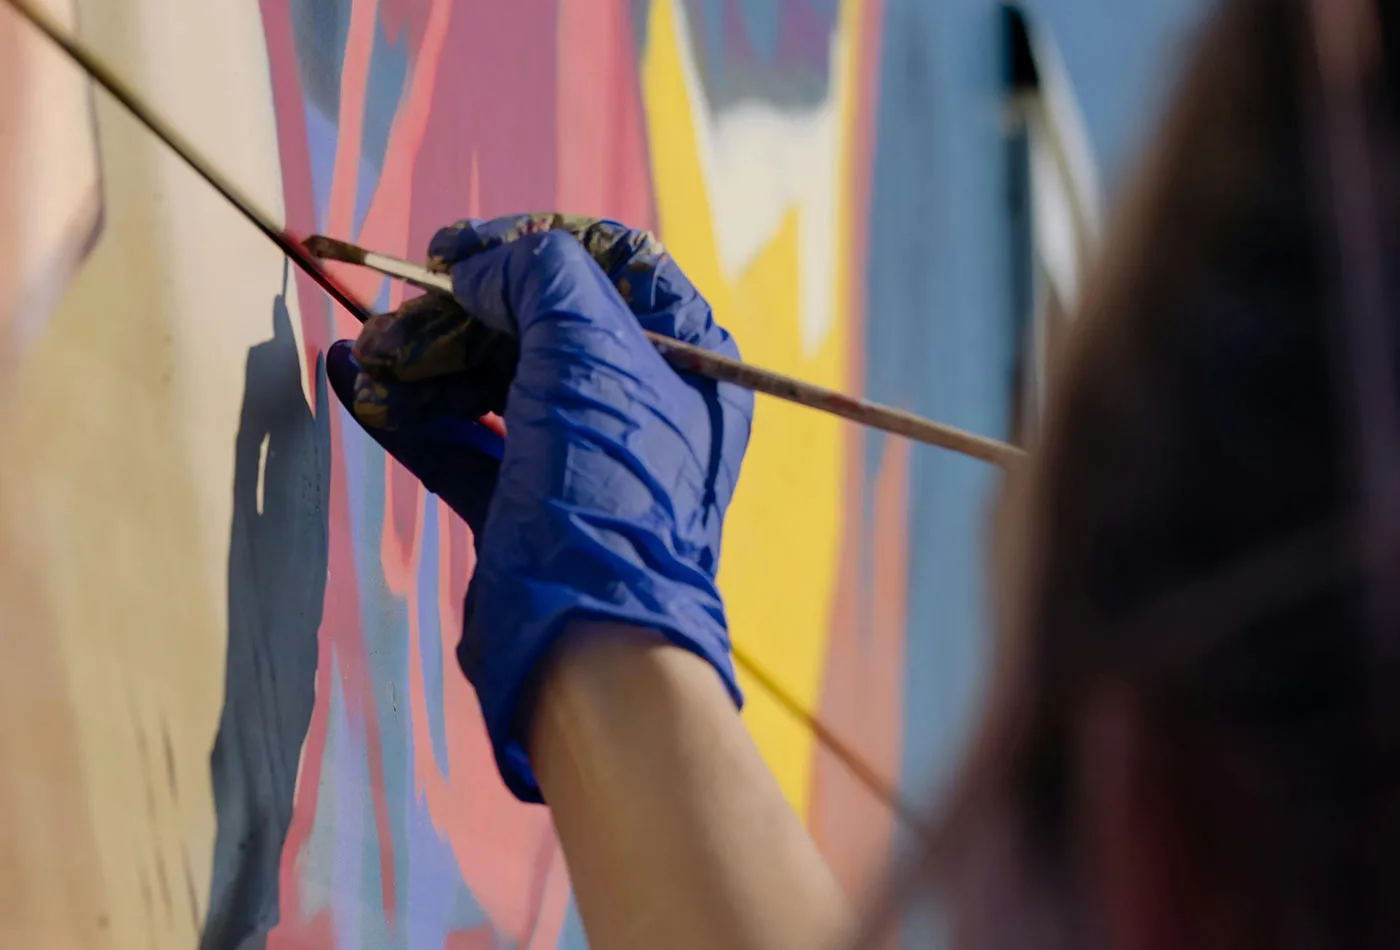
Murals are a powerful medium for storytelling, transforming blank walls into vibrant canvases that engage communities, bring art into public spaces, and reflect cultural values. Whether you’re a seasoned mural artist or preparing to tackle your first large-scale project, choosing the right paint and estimating how much you’ll need is essential to the success of your mural.
In this guide, we’ll walk through some practical tips and considerations for selecting paint and estimating the amount you’ll need to bring your mural to life.
Choosing colors and estimating paint needs are fundamental aspects of mural design and execution. By following these tips, you can effectively select colors that resonate with your artistic vision while ensuring they remain true during application. Accurate calculations of paint quantities will help avoid unnecessary costs and ensure smooth progress on the project. Flexibility and adaptation are key to dealing with any unexpected challenges during the mural process.
Beyond selecting and estimating paint, the actual execution of the mural requires thoughtful planning and technique.
Use Quality Materials: Good tools make a big difference. Invest in high-quality brushes and rollers to ensure smooth application and even coats of paint. Cheaper brushes may leave streaks or bristles on the wall, which can affect the final look of the mural and cheap paints will require more coats, taking more time to apply and reducing the longevity of your art.
Plan for Weather: For outdoor murals, weather can play a significant role in the painting process. Research the forecast ahead of time, and be prepared for sudden changes in temperature or moisture. Painting on a rainy or excessively humid day can ruin your mural, as the paint may not adhere properly. Aim to paint in dry, mild conditions to ensure optimal results.
Take Your Time: Rushing through a mural can lead to mistakes and uneven application. Take your time to ensure each coat is applied evenly, colors blend smoothly, and the overall composition aligns with your original design.
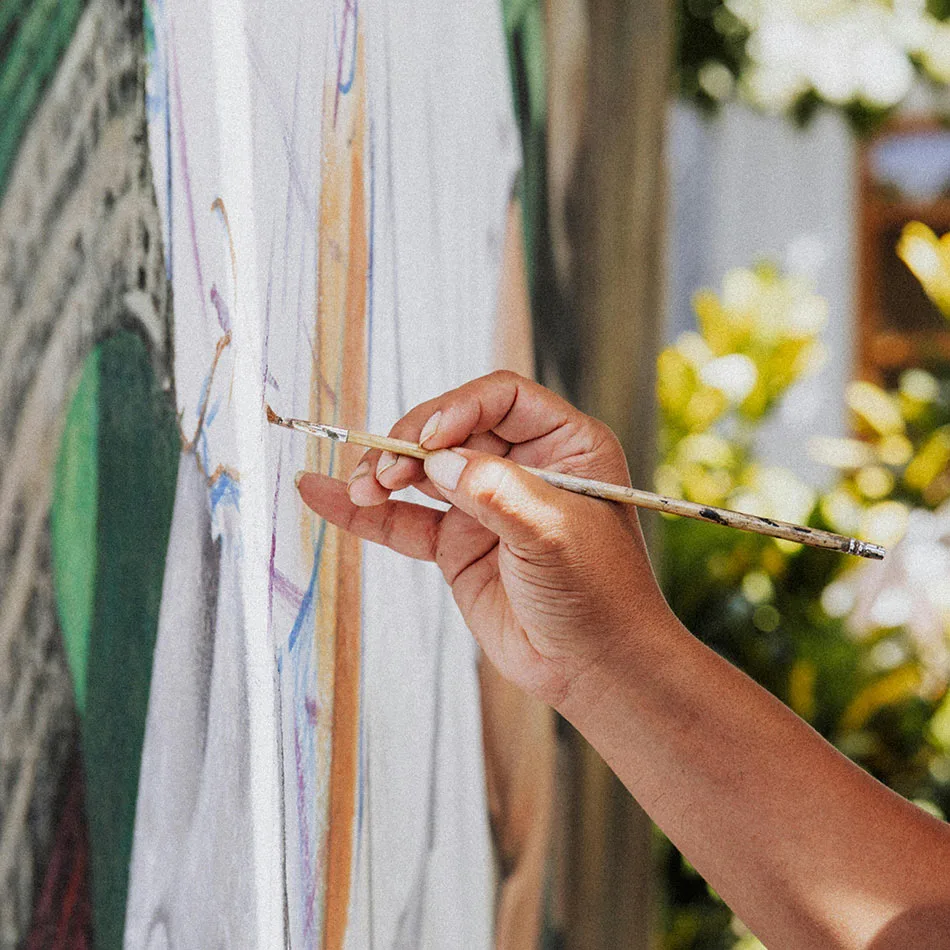
When it comes to painting murals, the surface you’re painting on is just as important as the paints you choose. Each surface type, whether it’s a smooth indoor wall, a porous brick exterior, or a high-traffic floor, requires different preparation and considerations. Understanding the surface will help ensure that your mural lasts for years and maintains its visual impact.
Different surfaces require different preparation techniques, and the durability of your mural depends heavily on how well you prepare the surface before applying paint. Here are some common surfaces and what to keep in mind when working on them:
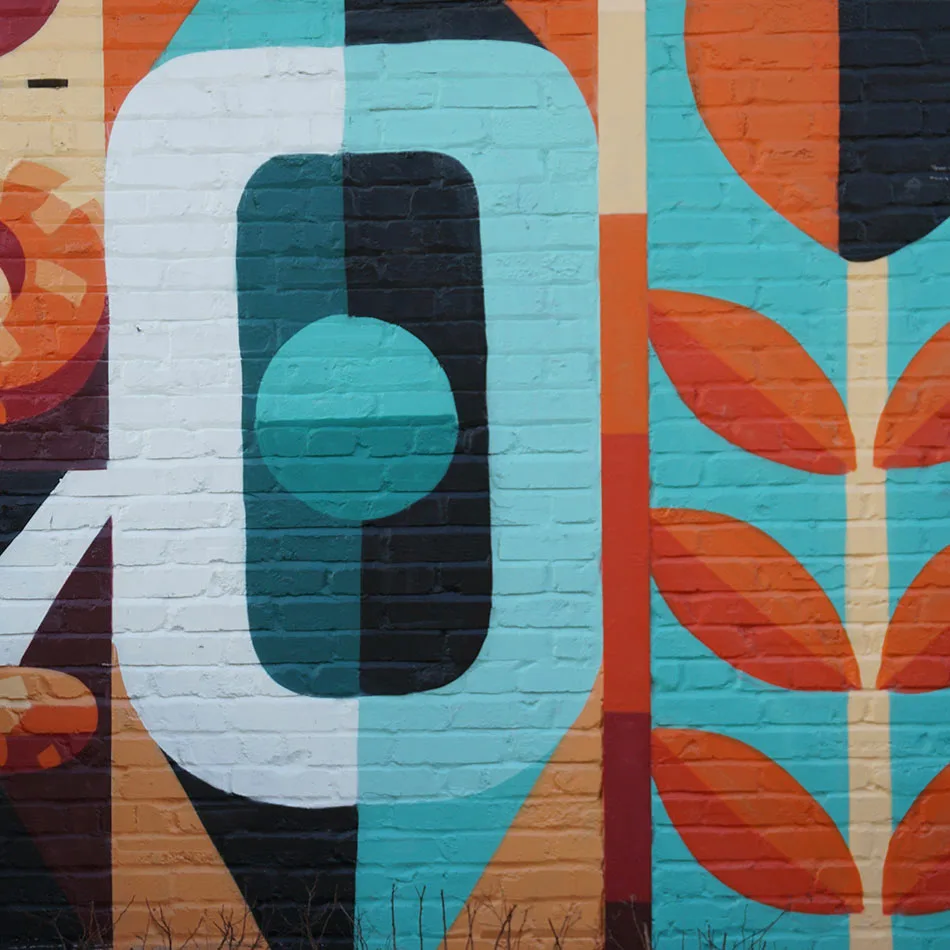
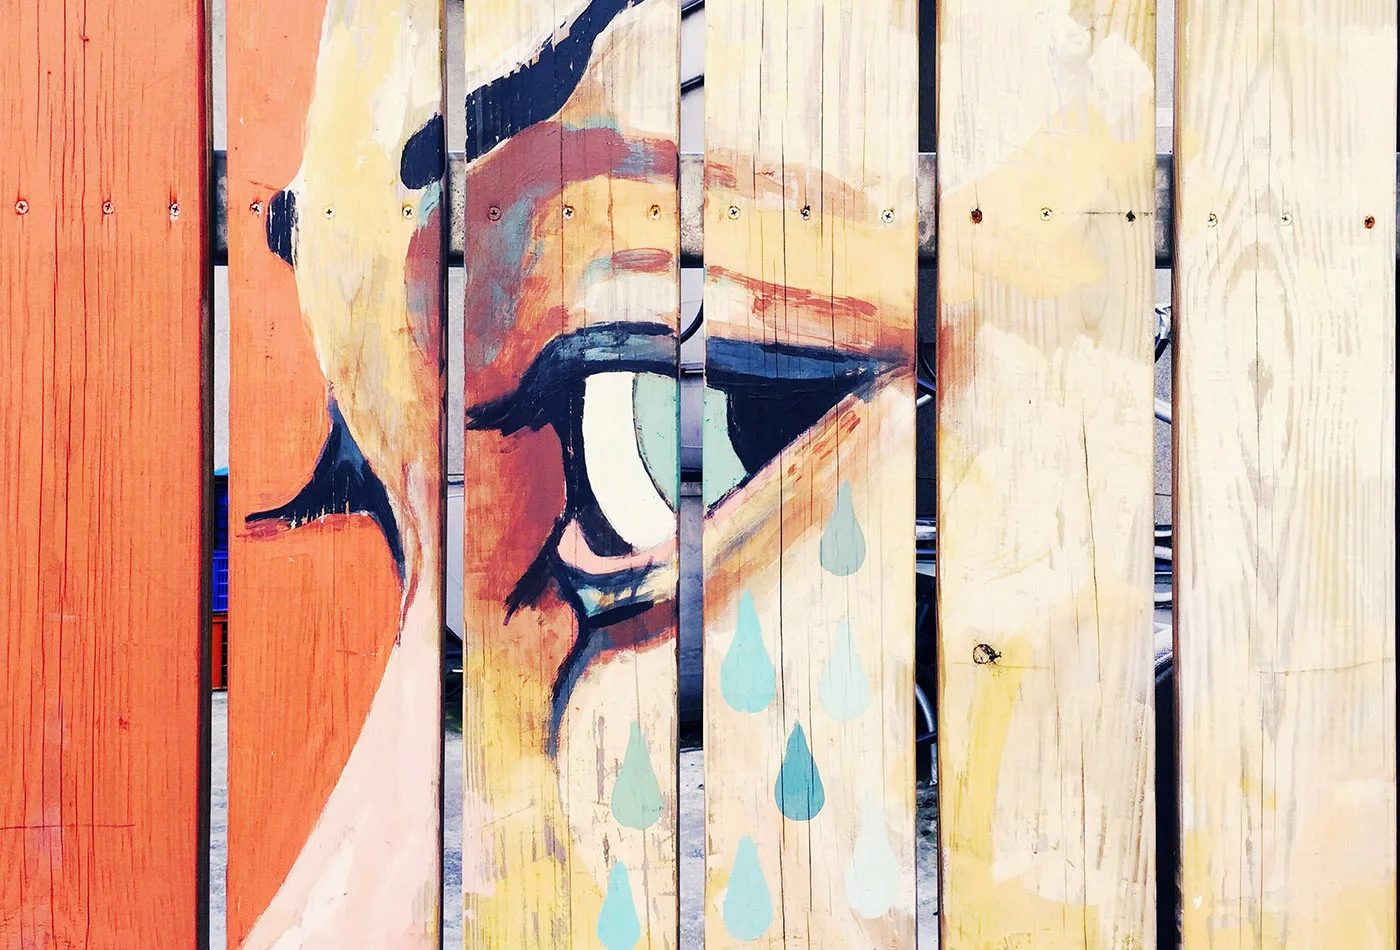
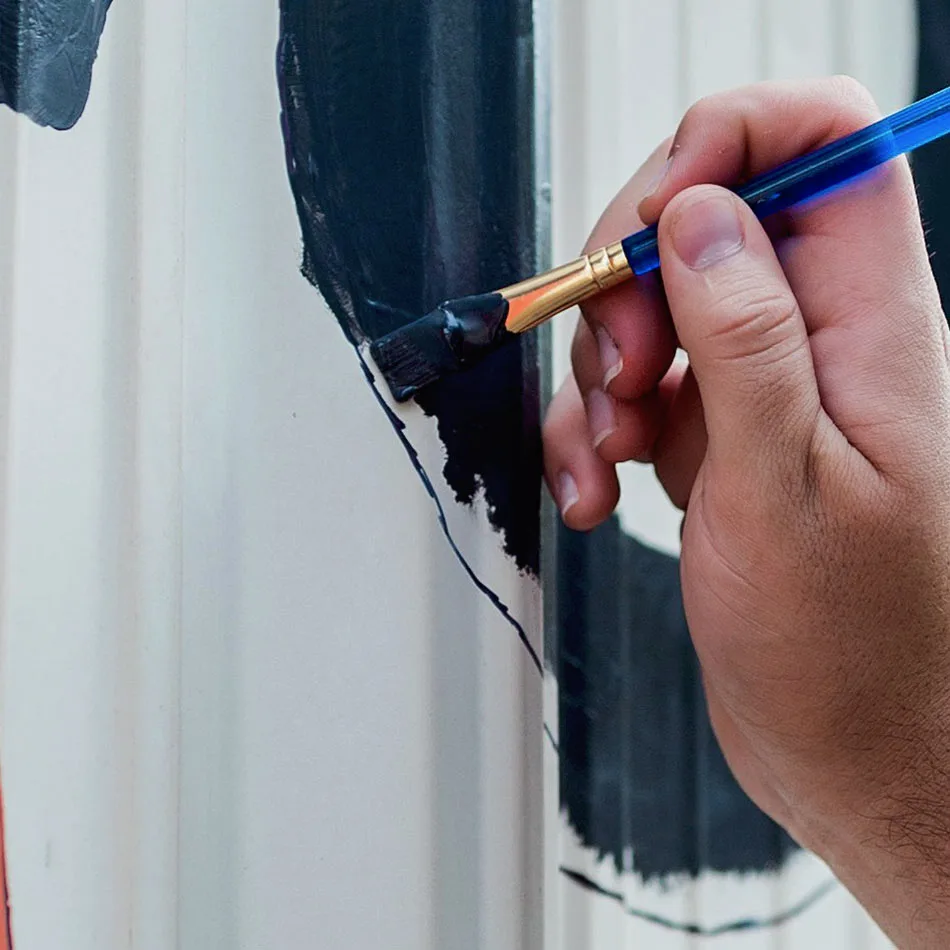
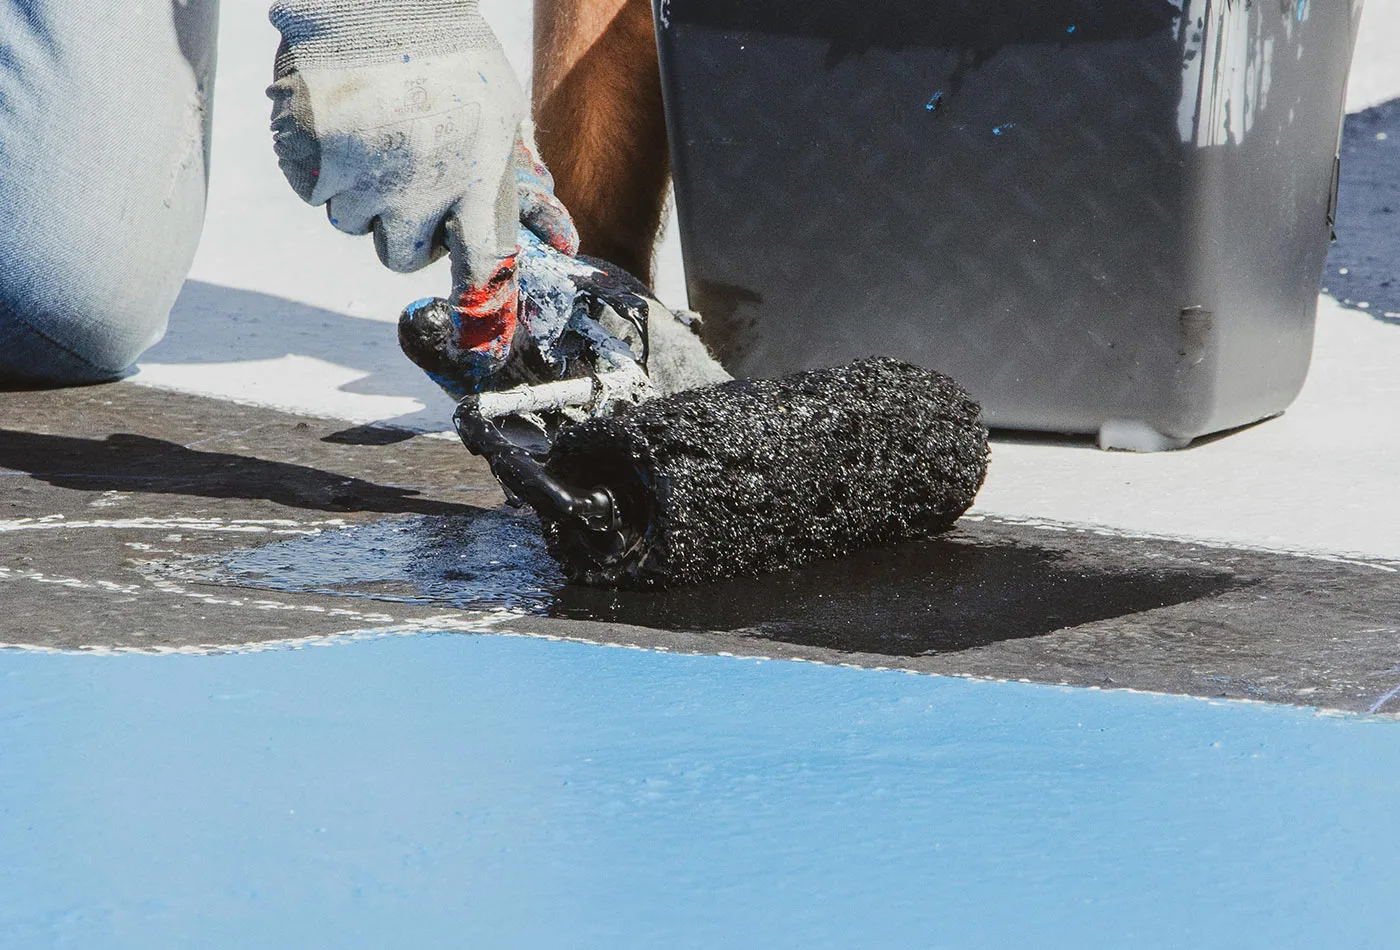
Paint selection is one of the most critical aspects of mural creation. Not only does the paint need to look great, but it must also withstand the elements—especially for outdoor murals. Choosing the right type of paint ensures the longevity of your mural and maintains its visual integrity for years.
Here are a few key considerations to keep in mind:
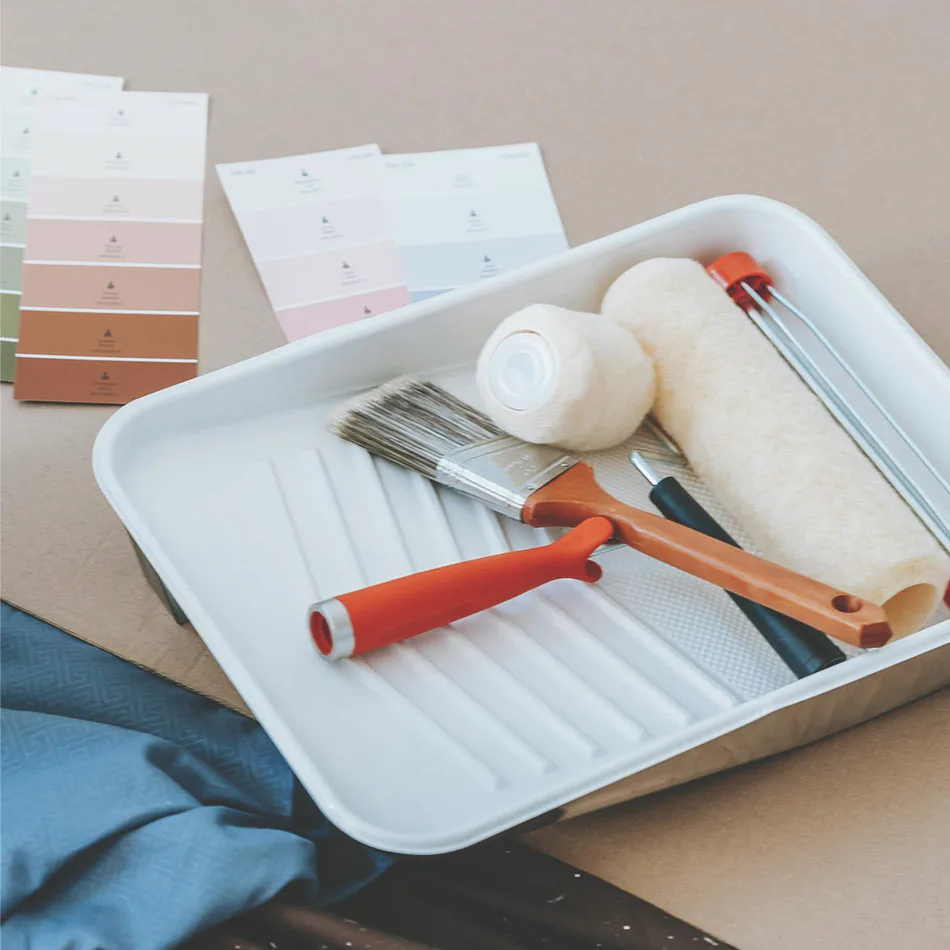
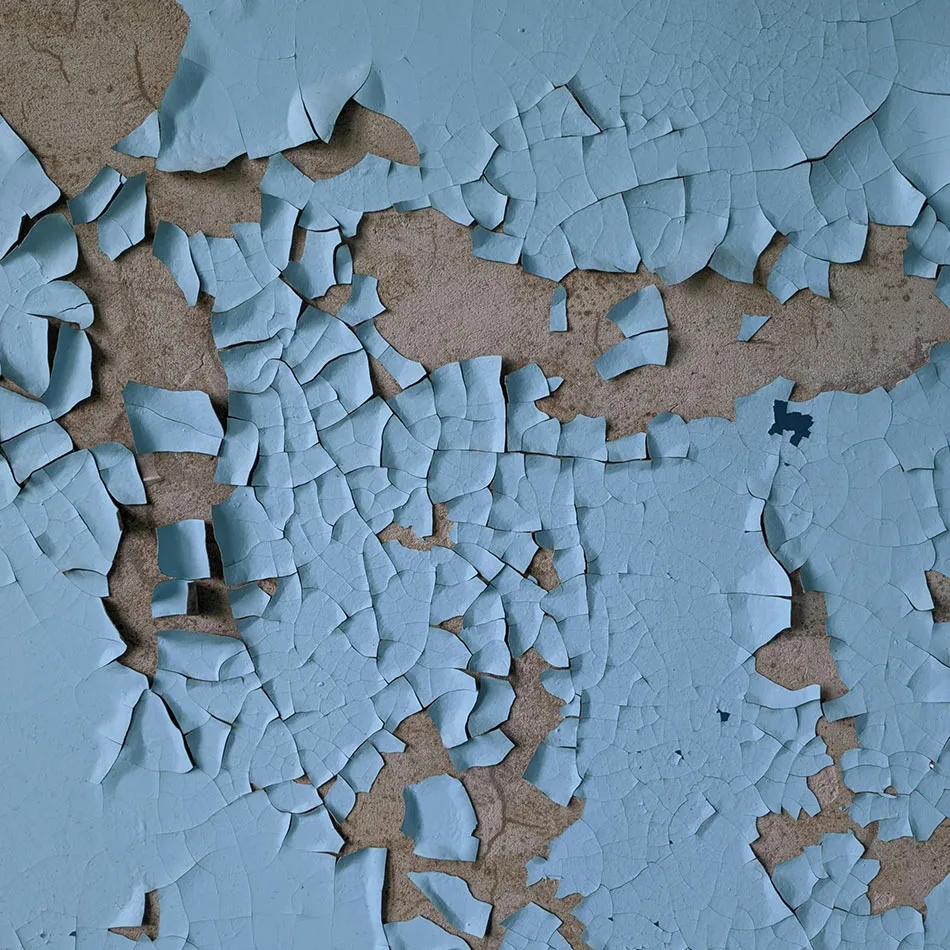
For outdoor murals, you’ll need to prioritize exterior-grade paints that are specifically designed to endure the wear and tear of the elements, such as sun exposure, wind, rain, and fluctuating temperatures. The durability of the paint is crucial in these conditions. Interior murals may not need the same level of weather resistance, but durability is still important for surfaces that see frequent contact or movement.
Some common types of paint for murals include:
Acrylic Exterior Paint: Widely used for murals due to its flexibility and durability. Acrylic paint is resistant to fading and cracking, making it ideal for outdoor murals.
Latex Paint: An affordable option that is often used for large-scale murals. Latex paints come in a wide range of colors and are water-resistant, but they can be less durable over time than acrylic paints.
Sun exposure can cause paint to fade over time, especially for murals in sunny locations. Look for paints that offer UV protection to reduce fading. Many exterior-grade paints are formulated with this protection, but it’s a feature worth confirming when selecting your materials.
The richness of your mural’s colors is a significant part of its overall appeal, so you’ll want to select paints that hold up over time. Pigment quality can vary between paint brands, so it’s important to choose high-quality paint, particularly for outdoor work. Fading can occur in both light and dark shades, but some colors—like reds and blues—tend to fade faster than others, so extra care should be taken with these tones.
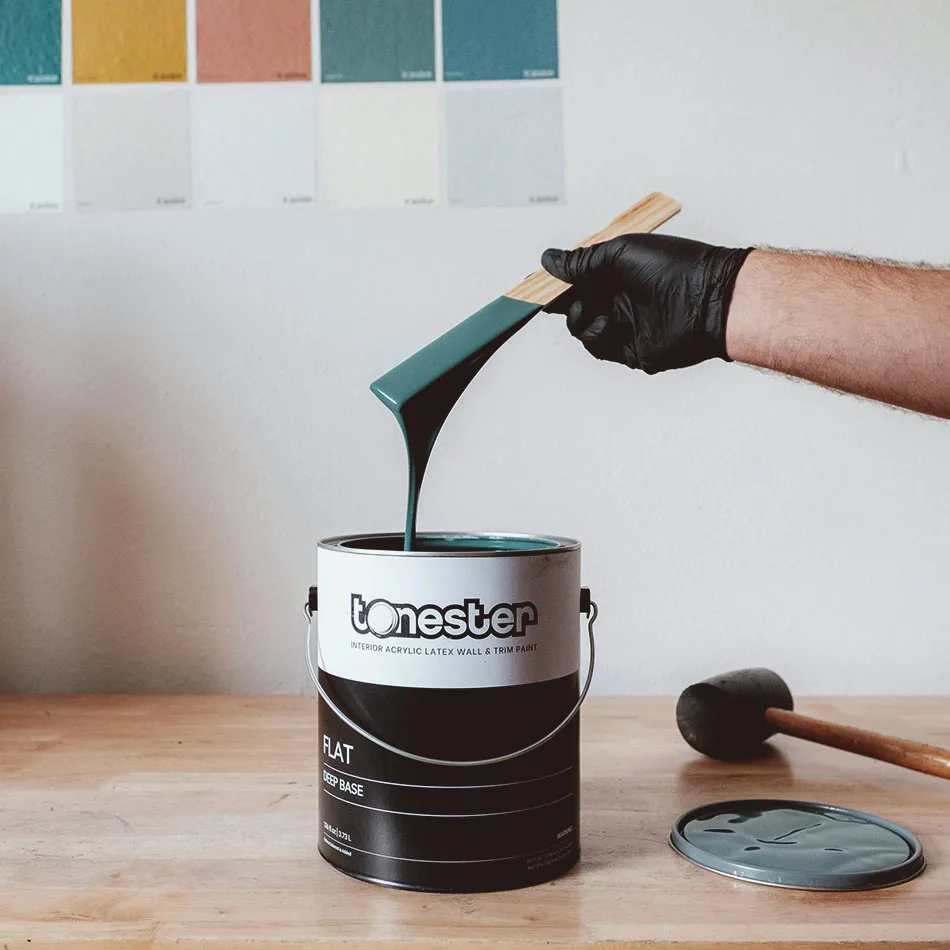
Choosing the right colors for your mural goes beyond just picking shades that look good on paper. The process involves careful planning and an understanding of how colors interact with the environment, the wall surface, and other elements around the mural. Referring to paint swatches when designing can save a lot of headache compared to relying on matching custom colors.
It’s important to test your colors before committing to large quantities of paint. If you can painting a small section of the wall to see how the colors look when dry and how they interact with the texture of the wall is best – if you don’t have access to the wall before-hand use a scrap piece of a similar substrate to your mural surface. Make sure to test them under different lighting conditions to get a sense of how they will appear throughout the day. Colors can change significantly under different lighting, so testing in real conditions ensures that your color palette will work as expected.
Consider the colors of the surrounding environment when selecting your palette. If your mural is in a city or urban area, the building’s architecture, nearby signage, and other public art pieces may influence your choices. In more rural or natural settings, you may want to harmonize with natural tones like green, blue, or earthy browns. Striking a balance between boldness and harmony will help your mural stand out without clashing with its surroundings.
Pay attention to the pigment concentration of the paints you choose. Highly pigmented paints provide better coverage, which means you’ll need less of them for vibrant results. Cheap, less pigmented paints may require more coats to achieve the desired color intensity, leading to increased time and material costs. Opting for higher-quality paint with better pigment will ensure the mural looks vibrant and requires fewer layers.
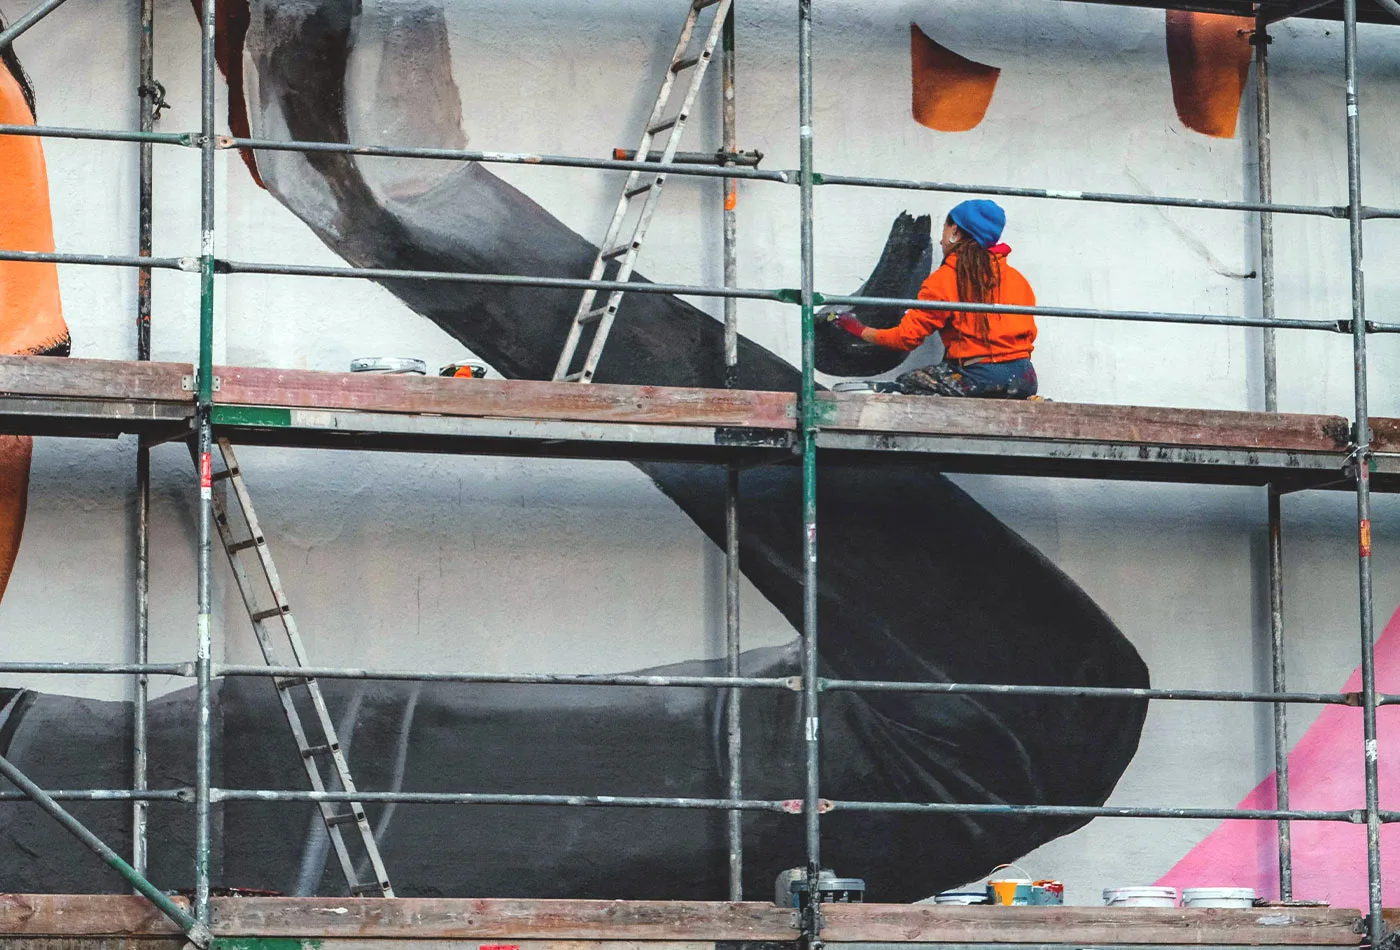
Now that you’ve selected your paint and colors, it’s time to figure out how much paint you’ll need to complete the mural. Estimating the right amount of paint is critical to avoid unnecessary costs or running out of materials midway through the project.
The first step in estimating how much paint you’ll need is calculating the total square footage of the mural. Simply multiply the height of the wall by its width to determine the area you’ll be covering with paint.
Example, if you’re painting an 8-foot by 20-foot wall:
Murals generally require at least two coats of paint to ensure even coverage and vibrancy, especially for exterior walls. Applying two coats also helps your mural stand up to the elements and wear over time. Multiply your total square footage by the number of coats to get your total coverage area.
For example, if your mural area is 160 square feet and you need two coats:
Paint coverage rates vary by brand and type, but on average, a gallon of paint covers around 350-400 square feet. However, this can depend on the surface you’re painting (smooth walls cover better than rough ones), the quality of the paint, and how thickly you apply it.
If one gallon covers 350 square feet and your total coverage area is 320 square feet, you’ll need just under a gallon of paint to complete your project. However, it’s always a good idea to round up and buy a little extra for touch-ups and unexpected mishaps.
In some cases, especially for outdoor murals or walls with uneven textures, it may be necessary to apply a coat of primer before painting. Primer helps the paint adhere to the wall and provides a uniform base for your colors. You’ll need to account for primer in your total paint estimate as well. The primer typically covers the same area as your paint, so the same coverage rate and calculations apply.
Once your mural is complete, it’s a good idea to keep some leftover paint for future touch-ups or repairs. Environmental factors like weather, graffiti, or wear and tear may require you to freshen up certain areas over time. Having extra paint in the exact color of your mural will make this process easier and ensure the consistency of your colors.
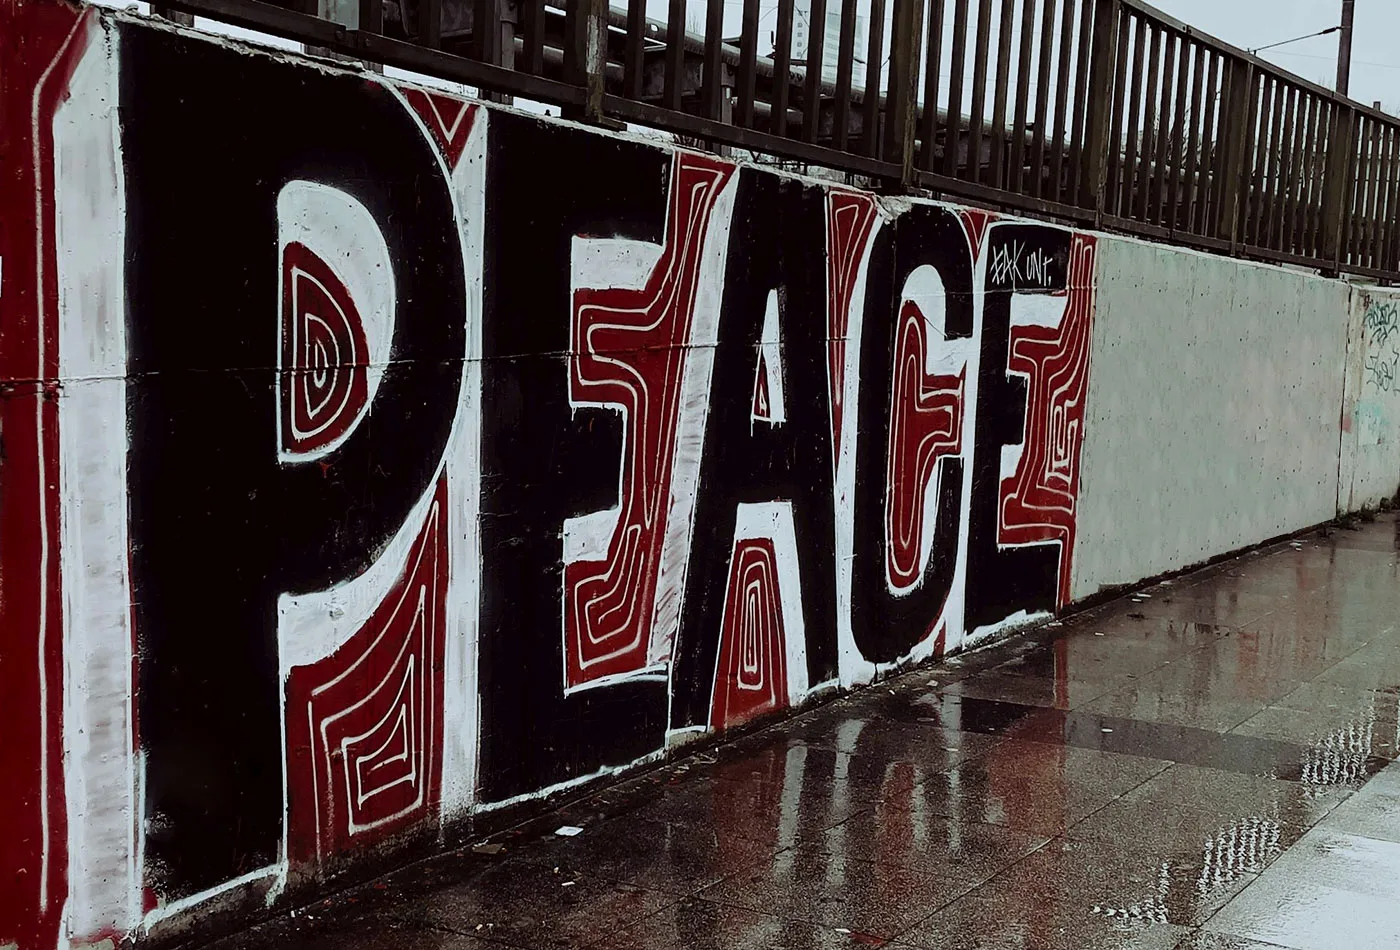
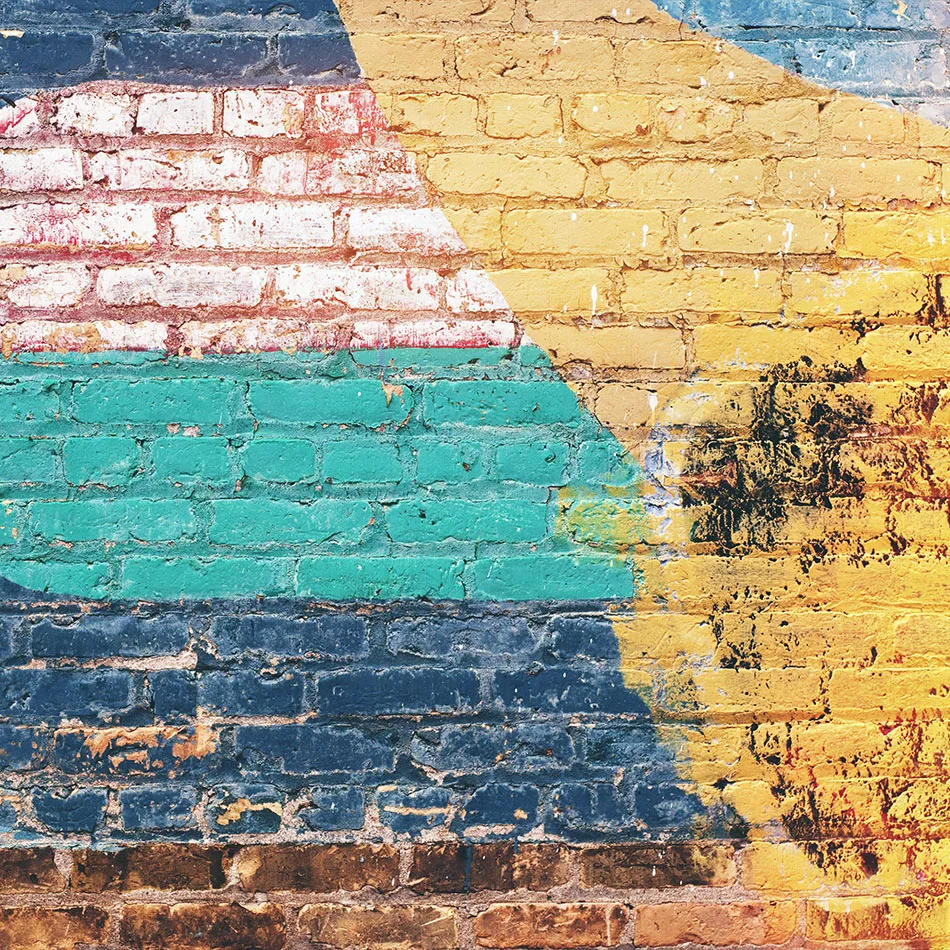
Besides the surface material, the environmental conditions surrounding the mural are equally important for both indoor and outdoor projects. Here are a few environmental factors to consider:
Both temperature and humidity can impact the drying process and long-term durability of your mural. For outdoor murals, extreme temperatures—whether too hot or too cold—can affect paint application. Paint dries too quickly in hot weather, which can cause it to crack, while cold weather can slow the drying process and prevent the paint from properly adhering to the wall.
Humidity is another important factor. High humidity can interfere with paint adhesion and extend drying times, leading to a less durable mural. It’s ideal to paint in mild, dry conditions whenever possible.
Direct sunlight can cause colors to fade over time, especially for outdoor murals. When selecting your paint, opt for UV-resistant exterior paint designed to withstand sun exposure. You can also position your mural on a less exposed wall if possible to reduce the effects of sunlight over time.
Walls that are frequently exposed to rain or high moisture levels, such as those near bodies of water or in humid climates, can degrade faster if not properly prepped. Applying a moisture-resistant primer and sealant will help protect your mural from water damage.
For outdoor murals, walls that are in windy areas tend to gather dust, dirt, and debris faster, which can dull the colors of the mural. It’s important to keep these walls clean over time, and a sealant can help reduce dirt build-up.
Understanding the surface and environment you’re working with is an essential part of creating a lasting mural. Each surface type—whether brick, plaster, metal, or wood—requires careful preparation to ensure the paint adheres properly and remains vibrant over time. Additionally, environmental factors such as sunlight, temperature, and moisture can all affect the longevity of your mural, making proper priming and sealing critical steps in the process.
By taking these considerations into account, you’ll be better equipped to handle the unique challenges posed by different surfaces and environmental conditions, resulting in a mural that stands the test of time. For more detailed tips on surface preparation and paint selection, check out our paid guide, which provides in-depth formulas, surface-specific advice, and advanced techniques for professional mural artists.

With over a decade of experience in a variety of creative industries I provide creative design solutions that exceed client expectations.
If you are interested in working with me – please reach out using the contact form below and I will get back to you as soon as possible.
